Saturday, 11 July 2015

Rose, Pistachio and Lemon Shortbread Biscuits

I've had an idea for biscuit flavourings kicking round my head for a wee while and since I had this Saturday morning free, I gave it a go...
I made 3 flavours. 
Rose - 2 tbsp ground up rose petals and  1/4 tsp rose extract (from Lakeland)
Pistachio - ground up handful of pistachio nuts and 1/4 tsp pistachio nut paste (recent purchase from Sous Chef in preparation for making pistachio macarons) & tiny amount green food colouring
Lemon - grated lemon zest and 1/4 tsp lemon extract
 The basic shortbread recipe is:
140gm softened (room temperature) butter
170 gms plain flour
55gms cornflour
55 gms icing sugar

Put it all in a bowl and rub together with your fingers.  While still crumby, divide into 3 bowls and add the rose, pistachio and lemon flavourings to each bowl then rub together to form a pastry.
Roll out each flavoured pastry to about 5mm thick.  Then if you have a range of round cutters cut out both big and small circles from each flavour and fill the centre of a big biscuit with the small circle of a different flavour ie mix them up.  So put a small lemon circle inside a big rose circle or vice versa or pistachio with lemon or rose.  The picture below should explain that a bit more clearly.  See how the biscuit centers are different colours?  That.  But if you're not in the mood for faff, just cut out single round biscuits, they taste just as nice :)
Heat the oven to 170 Celsius fan or 190 non-fan and bake for between 14-16 minutes.  Take them out when they're still quite pale and try not to let the edges turn brown.  Try to let them cool before eating.


Thursday, 9 July 2015

5 Ways to Declutter!

If you're like me you will have too much crafting stash! After years of teaching classes and designing for magazines, I had accumulated so many stamps, ink pads, ribbons and embellishments that I arrived at a point where the stash was stifling the creativity. It was all neatly stored and labelled but that's all I was doing with it, storing it.
So, those 5 ways to declutter in no special order....
  1. Be honest, if you really loved that stamp/fabric/paper you would have already used it.
  2. If the stamps have never been used, put them in the "out" pile.
  3. Be ruthless, if you haven't used it in over a year, you're just storing it.
  4. Do you know someone who might appreciate it more than you?  A friend or youth group?  
  5. Clearing your clutter will clear your mind and free you up to be more creative.
It was my freestyle quilting machine which prompted this soul searching. It had been in storage since I moved into our little cottage and I was missing it and wanted it to complete two projects started 3 years ago and not finished. But it's big.
We managed to get the 7 foot wooden rollers and frame in the car but even though I'd measured and worked out where it was going to go in its new home, it just didn't work. It dominated each room I tried to use it in to the point where I couldn't get in the room with it. Time for a re-think. I needed a way to finish quilting my raggedy edged union jack...
The rethink became a major reassessment of which interests to keep or drop. Gone was quilling, soap making, friendly plastic, deep embossing, silk painting, lace making, the die cutter long since replaced, those spritzer paints which either clogged up or sprayed you in the face and other obscure crafts picked up in those moments when you tell yourself I can make that myself then spend ten times as much to buy the stuff. I decided to cut back dramatically and focus on fabric and paper arts. I found a buyer for my quilting machine, sold half my library of crafting and cooking books back to Amazon and packed up the stamps and crafting goodies I hadn't touched since moving house and gave them to our local Cub scouts. 
My cramped little crafting attic suddenly felt far more spacey. I could see the floor! But back to my original dilemma, how was I going to quilt? After some serious research and tough negotiation I traded in my wonderful 6.5 inch throated Janome 4900 sewing machine for a wonderfuller Janome 8900 with a massive 11 inch throat which enables you to quilt things the size of Belgium. (Yes I know there are clever people who can quilt treble king size quilts using standard domestic machines but fighting that much fabric always made me a bit sweary and put me off, hence the quilting frame.)  And here is the result of the reorganisation.  I'm verrrrry pleased with this little beauty.  
Because I had a Janome before, this step up didn't feel too strange, plus the shop I bought it from delivered it, unboxed it, set it up and gave me a tutorial on the basics. Once I've really got to know it I'll do a review because other reviews online I read prior to purchase were so helpful in making the decision.  But for now, the clutter has gone and more crafting is being done  and will be shared when I have some pictures ready to upload.


Monday, 29 June 2015

Needle Felted Monsters

I've been meaning to share these little monsters with you for some time.  They started following a random wintery evening spent in the company of Pinterest.  I stumbled across some needle felting pictures and needed to know more.  I had a trawl round the internet and discovered the inspirational work of (nearly) local artist Gretal Parker ...which lead to me buying her beautiful book..which left me gagging to have a go too!
This little guy is about 4" high and looked so sad and lovelorn I gave him a heart but it didn't cheer him up.
Awww
And this chap is full of mischief.  I didn't start from a drawing, just an idea in my head and I was  a bit surprised when he ended up looking like a dog.  No?  He's supposed to be a ferocious beast but I couldn't pull it off.  Even after I'd given him massive fangs.
Still not scarey.
And this is a mouse.  A very simple shape so I could experiment with curves as I'd seen in Gretel's creations.
The pink thing is a tail with a curl at the end.
And my final monster!  I had some difficulty with the arms which appear wider near the paws but I'm very fond of him :)  Needle felting is very forgiving and you can make most shapes just by using special barbed needles and stabbing at a ball of woolly stuff.  It's not expensive and you can find supplies at Gretels' online shop.  If you decide to have a go make sure you buy the leather finger protectors.  It stops everything becoming very jabby and sweary.
As usual I'm finding it difficult to find my unique creative voice but I'll keep stabbing the wool (merino wool tops to be precise) and see what new creatures arrive.

Monday, 27 April 2015

My Village - Mummers Draft Excluder

This is a project inspired by a winter thing and is a follow up to this post where I detailed how I made our much needed draft excluder based on simple line drawings done by Himself of local historic buildings.  Unfortunately we have more than one door which doesn't fit its door hole so I needed to make another excluder.  This time I based it on the Boxing Day Mummers in our village.  A group of about 9 locals, dress in paper costumes and perform short medieval plays three times at different locations down the high street.  They attract large crowds each year and it's a proudly owned tradition.
Again, I asked Himself to draw me some very basic shapes (he's good at that sort of thing) which I could then applique onto the outer case of the draft excluder.
Then I had the fun job of finding the right mix of textures, patterns and colours.  Because the Mummer's Plays are a mid-winter celebration, I wanted to have red white and green but the colours had to work in a way which would be good all year round and be jolly.  In one of my frequent rummages in my local fabric shop I found some newsprint style fabric and that had to be included since the Mummer's costumes are made from strips of paper.  Below I'm laying out the cut out pieces and trying out the design on the outer casing of the excluder.
It's quite fiddly.  All those little pieces of bunting are made from individual pieces.  You can see the discarded bits of applique backing paper.  I had to get a bit busy with the hoover once I'd completed the project, there were bits of paper all over the place.
How's it looking now?
A bit more fiddling about...
Mostly happy with that layout so now I can remove all the backing paper and iron into place.
Stuck on and ready for the sewing.
I am happy to admit I'm not very good at machine embroidery.  I love it but I wobble everywhere and have a messy technique. (Don't look too closely.)
See what I mean?  But it doesn't matter.  No one's going to get that close to the finished item.
I use a hoop to try and hold it all taught.
Despite the wonky sewing, I like our locally inspired, handmade things around the house. They root us in our home and our village and have a little story behind them.  Himself has promised to do me some simple line drawings of other local landmarks and I'll use them to make some cushions in the future. 


Tuesday, 21 April 2015

Spring in the village

The buds are swelling, the birds are tweeting and the daisies are popping up all through the grass.  The lawnmower has been dusted off and is in use once a week and everyone is visiting garden centers.  It’s spring in the village!
After the dark gloom of winter we are now enjoying longer days and some sunshine.  
I’ve thrown some seeds in pots and am using the window of the shed as a mock greenhouse to bring them on.  If my plan works, we’ll have french beans, broad beans, sweet peas, cucamelons, garlic, mint, parsley, sunflowers and lobelia all over the place. 
We’ve added a blueberry bush and a small olive tree to our collection too.  The great thing about not knowing what you’re doing gardening-wise is you try anything!  If the plant sulks or dies, you just don’t do whatever it was that you did again.  
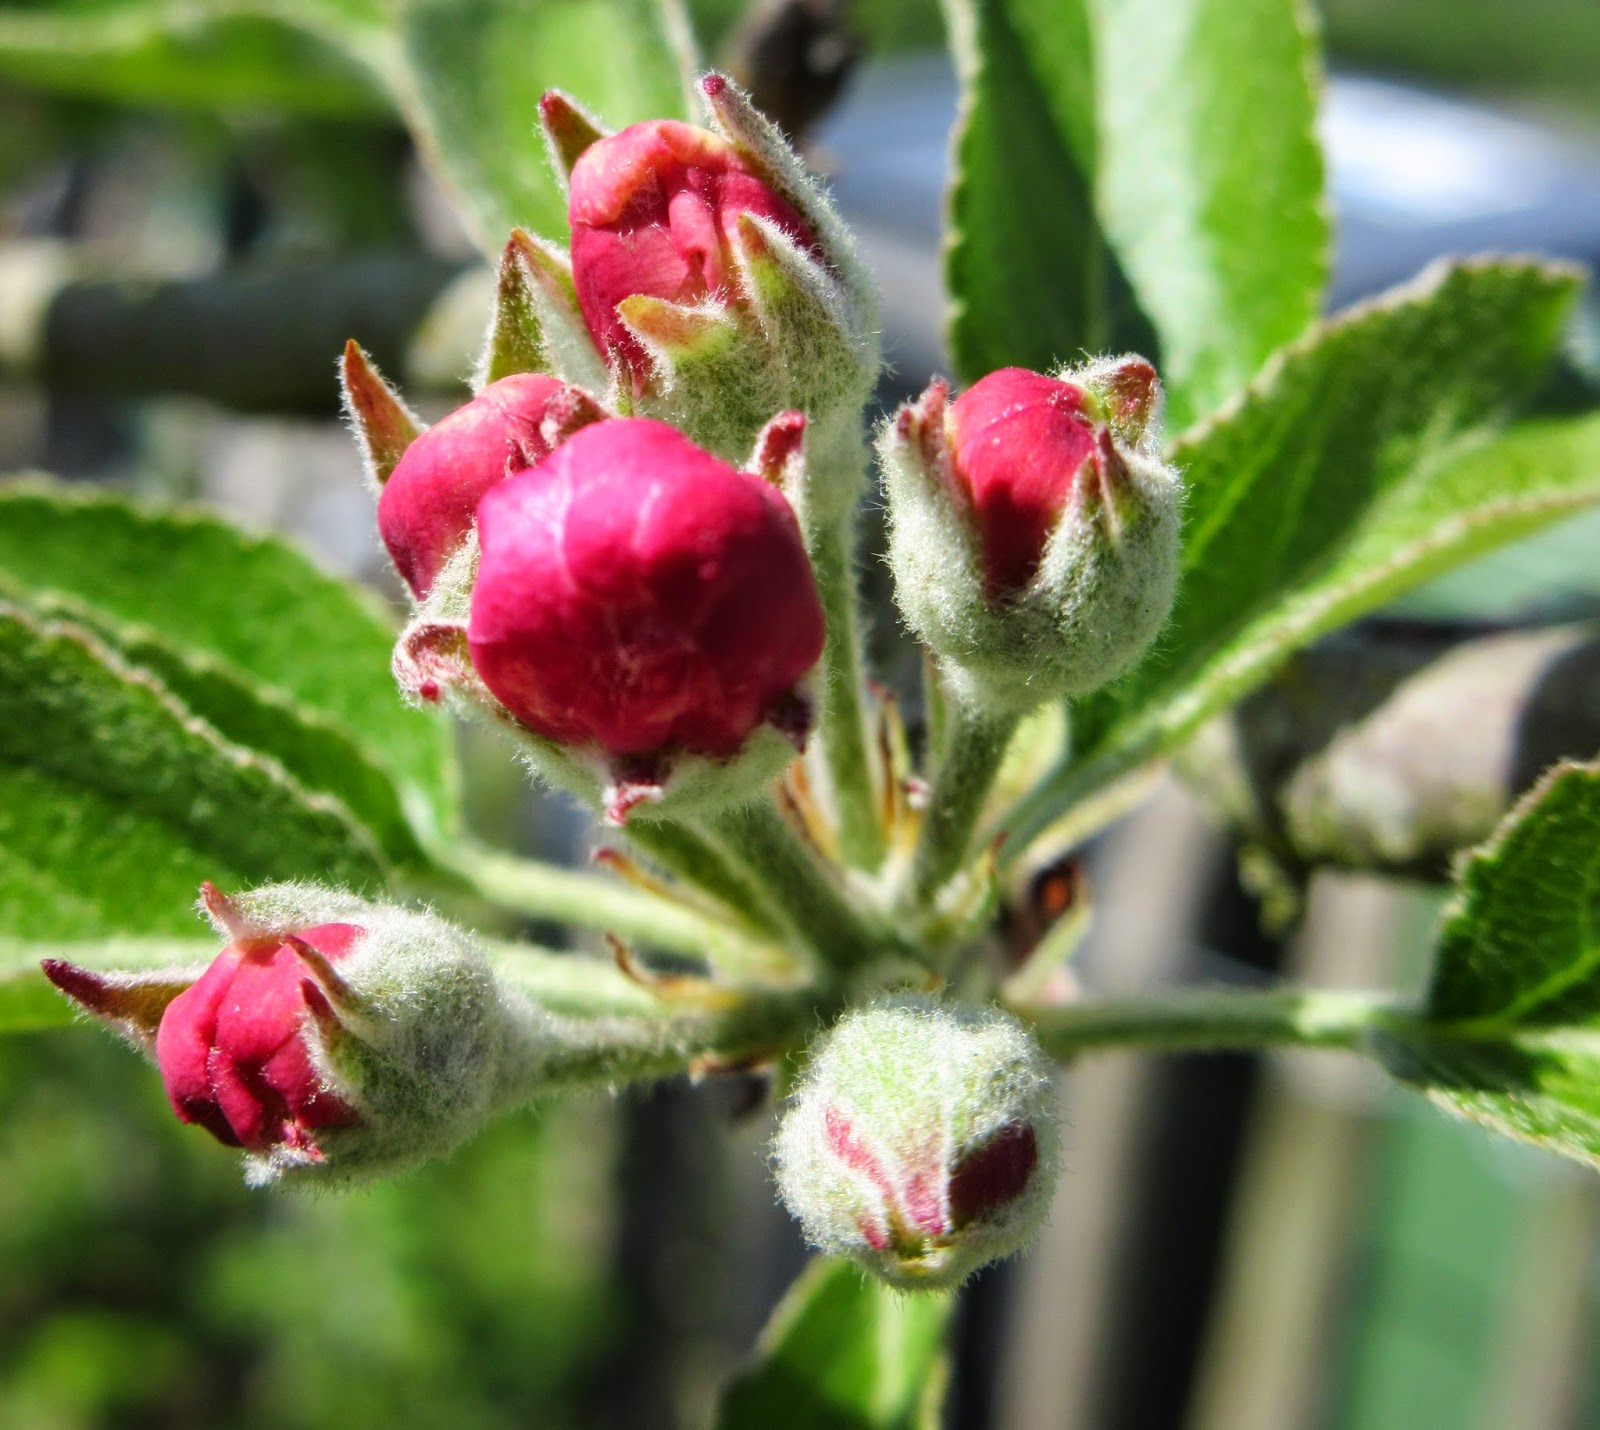
In our orchard (of exactly two apple trees and one cherry tree), the blossom is just waiting to burst out and make us smile.  Last year we had 2 apples.  This year we’re hoping for a bumper harvest of 3 apples.
And now just look at all the colours zinging into life around us!   The blue splash of forget me nots spreads further each year. 
We're training honeysuckle to climb up the shed partly to hide it a bit and partly so we can overdose on it's amazing scent as we work in the garden.
Our narrow lanes which have been bordered by bare stone walls for ages are filling up with limey green, fresh nettles, pink things and white things.   

The tree opposite us acts as our seasonal barometer and to see it gradually turn from sombre brown to vivid green is very cheery.
 

  In the sunshine everything looks fresh and clean.
The valley invites evening walks and this is the place we come owl spotting.  There are a couple of Little Owls living in a barn nearby and we've heard a Screech Owl although we've not had sight of it yet. 
In a couple of weeks we'll need to kick our way through the nettles which will invade this path but for now it is full of promise for the summer ahead and when the sun shines, it's nice to fantasise that it always will.... 

Thursday, 12 February 2015

Applique & Machine Embroidered Draft Excluders... and Cake

This is a job I've been meaning to do for some time.  We needed a draft excluder to replace the rolled up old mat which was trying to do the job but not doing it very well.  I wanted a design which was easy to do but had a personal touch.  What I ended up doing was choosing two well known local buildings (the church and almshouses) and getting himself to make a very simplified line drawing of each of them.  I used bondaweb and drew all the pieces I wanted to cut out on the non sticky side and ironed them onto the fabrics I'd chosen.
Luckily I am a fabric hoarder and had plenty of scrap pieces to choose from.  Our house is somewhere between shabby and chic so I opted for a neutral linen background with some bright reds and creams with a dash of green to whoop it up a bit.
 Here's the basic sausage.  To fit our front door it's 40 inches long and about 11 inches round.
This is the fun part, the fiddling about with where to put things.  
 Final positions decided and ready to be ironed into place and then whizzed under the sewing machine. 
Ta dah!  This is a close up of the finished cover all fitted  and with machine embroidered detail added. 
 Detail of the almshouses with it's little clock represented by a circle.
 And here's the cake.  A Victoria sponge filled with butter cream icing and strawberry jam hand spooned from a jar.  Always a winner!
This morning's weather was fabulous for early February so we took full advantage of it and sat outside for the first time this year in glorious warm sunshine to enjoy my coffee and his tea, with cake of course.

I