Wednesday 31 August 2016

Moonlit Mushrooms Tag

This lovely mushroom stamp from Lindsay Mason Designs was embossed in white.  When I stamped it in black ink, the image was much too dark.  I wanted it to look luminescent in the moonlight.  Embossing in white made it appear to shine and allowed the Distress Pens I used to colour it, to pop more than when I tried this with black ink.  The moon is covered in bright white glitter and the little bats were cut using the Brother scan and cut.
What really makes this ping is the white of the moon and mushrooms against that jet black sparkling night time background which worked better than I had hoped it would.  I added a streak of blue in the top left hand side of the tag too.  When you move the tag it gleams and I sacrificed photo quality to try and show you that.  These very lovely paints are part of the starlight range from Imagination Crafts and take me well outside my matt finish, chalk effect comfort zone!  I'm not a shiny, glittery person but I do like a sparkle to catch your eye sometimes.  It livens up cards and tags especially.
I've decided this autumn and winter to embrace the sparkle - and Himself has measured up for the next set of narrow shelves required to accommodate the growing pile of paint pots in the craft room.  I need to see what options I have when I'm making a mess project and my own rule is: if I can't see it, I won't use it, so I won't have it.  Thank goodness for shelves!  Enjoy the video below :)

Monday 29 August 2016

One stamp - 3 uses

As the colours of the landscape drift into olive, cinnamon and apricot, I want to use those colours in all my projects at the moment.  Because I wanted to focus on the colours rather than the stamp, I took one stamp and used it in a different way in each of the three cards below.  The first features my favourite way of applying gold!  The effect is like gilding and shimmers beautifully.  The background uses two colours of brusho pigmented powders and the video at the end shows how.
 The finished card was layered onto a really thin border of red, then onto gold mire card.
 See the shiney!

The second card was an experiment.  I used a Brother scan and cut to scan in the black stamped image.  Then, I expanded it slightly and cut it out for use as a stencil to puff distress pen inks through.  A flower made up of some shapes left over from other projects completed the card.

Finally, I took the stencil and brayered some gorgeous shimmery paints over it.  It was then layered onto some plain while card to really set off the colours and I added a happy birthday sentiment created in word art and printed onto plain card.  I ran this through the scan and cut and cut out the scalloped circle twice, once round the sentiment and once a little larger from gold mirri card.

Enjoy the video - it's packed with techniques!


Saturday 27 August 2016

Snowflake Tag

Is it too soon for this?!?  When I look at the stats for this blog I can see the most popular posts at the moment are the christmas projects including Christmas Baking in AdvanceChristmas Stocking Felt Cutlery Holders TutorialFestive Card Bunting Tutorial and Germany and a Weihnachstmarkt.  Since you're all looking for inspiration I'm sharing this project early to tickle your festive fancy.  I do like doing things in advance and it's amazing how much more relaxing winter is when you've got a freezer full of macarons, stollen and frangipani mini mince pies (wow that Bertinet recipe is GOOD!) ready for random visitors

Many years ago when I used to design projects for a crafting magazine the deadlines meant we had to work 5-6 months ahead.  It's a habit I got into and now I have little difficulty working on winter projects in summer and summer projects in winter!  I see this early sharing of a snowflake tag as a public service.  You're welcome.  Mwahhh!!

(See those individual little cup shapes above - they're formed using Craftwork Cards Candi and filled with novo crystals which dry hard.  What that means is you can make all kinds of flower shapes, stuff with nuvo and they won't get squished.)
Aren't these mini tags lovely?  They are from Set 32 Christmas Sentiments from Lili of the Valley  There are over 30 little sentiments and I plan to use them in a few Christmas projects but they are also suitable for general winter projects too.
The sparkle on the wings of the snowflakes was added using my ever present Wink of Stella Clear pen.  Frugal tip - I think this is the only sparkly ink pen you need.  I know there are loads of glitter pens available in different colours but I've experimented comparing my normal coloured pens (both Tim Holtz Distress markers and Copic) with added wink of stella over the top v spectrum noir sparkle pens and I can't see a difference.  Save yourselves a LOT of money and just get one clear sparkle pen!

Here's the video :)

Wednesday 24 August 2016

Autumn Wreath

We're not quite in autumn yet but those soft colours are beginning to creep into the landscape and leaves.  For this project, I've used a Tim Holtz die called Tattered Leaves but you can hand cut your own shapes.  Fold a piece of card in half and draw half a leaf shape with the fold as the centre of the leaf.  Cut and voila!  Colour the edges of the leaves and roll the edges round a paint brush to make them curl in a leafy way.  Cut out a circle from strong card and get your glue gun going.  Add any embellishments you happened to have, raffia would have made a perfect bow on this but I couldn't find mine.
 The video shows you how to make those berry like clusters as well as the whole wreath.  Hang it somewhere you can enjoy it as the nights lengthen.

Monday 22 August 2016

Altered Vintage Pot

My excuse for even having this plastic pot in the house is that it was on offer :)  Once it had been thoroughly emptied (sob) and was heading for the recycling, I thought what a shame it was to throw it because the shape was perfectly sturdy and practical.  But I'm not a one for shouty marketing and this was too loud even to be relocated to the shed.  (Is it just me who feels the urge to argue back with marketing slogans or ridiculous claims on inanimate objects?) I was standing beside the kitchen roll while having these deep thoughts and a little light bulb went "ping" in my head.  Why not turn the nasty pot into a nice pot?

The kitchen roll played a critical part as you will see in the video below and meant I could cock a happy snook at some nonsense on one of the craft channels selling a gloop and fabric set so you can make fairy houses.  Really?  Am I a princess?  Am I a diddy fairy girl?  And while we're on the subject, it's not "Fairy Dust" it's Brusho's and it's been around for over 30 years.  Just because I craft don't treat me like a poppet.  You're welcome. 

Where were we?  Oh yes, one square of kitchen roll and a decoupage type of glue is all you need to give your pot coverage and texture.  (Look, if you want to make a fairy house that's actually completely fine, just please don't think you need someone else's special kit to do it, mwah x!) 

 Once again, a project using my trademark water sprayed, scrunched, dried and painted flower stacks.  But this time edged with a clear embossing ink pen and a little gold embossing powder added to give the edges of leaves and flowers some definition.
I used a product called "Rusty Patina" because I had it in my stash and wanted to try it out but you don't need it.  Once the kitchen roll and glue is dry, paint over with whatever type of ink/paint you have.
See video for kitchen roll and glue in action!

Saturday 20 August 2016

Nuvo Crystal Drops - Card of Hearts


Nuvo Crystal Drops come in a range of lovely colours and apparently dry solid after 24 hours.  So I thought, how are they really different from Ranger Stickles or Liquid Pearls?  Well, I found the Nuvo drops have a slightly more liquid consistency so they drop better and you can add other spots of colour wet into wet.  What's nice is the added spots absorb into the original blob nicely and the whole thing dries into a smooth dome shape unlike Rangers which can have little tips sticking out.  that's fine if you want that effect (which sometimes I do) so the Nuvo drops offer something different.  When they dry, they really do dry rock solid and you could use them as a solid blob embellishment at the centre of flowers for example.  If you drop them onto a craft mat and leave to dry, the next morning you can peel them off ready to glue onto other projects.  I think they're fun!

Here's the video :)


Wednesday 17 August 2016

A Different Time - Mixed Media Tag

When I look at these old photos they seem to come from a more innocent, simpler time.  I doubt that's entirely true.  If these date from 1940's America then the faces looking out at us in a slightly self conscious way may have seen the depression and crop failures of the 1930's and war.  Perhaps it's the reserve the faces exhibit which marks them out as coming from another era.  In our times no one is camera shy (except me).  Sex sells and sex tapes can bring fame and fortune to those who think such things are worth having.  I'll keep my self respect intact and spare your blushes :)
Sepia browns and denim blues are the perfect colour palette for these pictures.  
The words are printed onto card, cut out, the edges inked and stuck onto a piece of ripped corrugated card.  All these elements felt right to capture the homespun feeling suggested by the pictures.
The video shows how...

Monday 15 August 2016

What's Your Story - Mixed Media Page

I saw some Tim Holtz photo booth strips being sold cheaply recently and bought a packet.  They really sparked off my imagination.  As I flicked through the bundle the question I kept coming back to was "What's your story?"  As far as I can tell, these are genuine vintage photos re-printed for commercial use but these were real people with real stories.  Generally I find Tim Holtz materials work well together so I dug out some of his glassine paper from my craft stash.  I love this stuff!  It's a coated paper which looks as if it's waxed.  You can scrunch it up and treat it pretty roughly and create all kinds of effects.  If you ink it or paint it you need to fix the colour by heating with a heat gun which is what I did to create these autumnal looking leaves.  Close up they look just like dried fallen leaves.
The flowers are die cut shapes which are (as usual for me!) sprayed with water, scrunched, opened and left to dry.  When added to a project they look like leather.  I completed them with a candi dot fixed with a dimensional foam pad.
Enjoy the video, sorry about all the edits.  I had a major focussing problem which I had to edit out.  No way was I going to make you feel sea sick watching it zoom in and out!


Saturday 13 August 2016

Wasp Vandals

We came home from our camping trip to find some new patches ripped from our wooden shed.  Now, we do know the culprits having observed this last summer too.   I grabbed my macro lens and waited to get proof...
Here he is - our wood thief!  Mr Wasp has stripped thin little rolls of wood pulp to make a nest.  We have found one old nest in a far, dark corner inside the shed.  It's too dim to photograph but is a beautifully created sphere hugging a hidden spot.  There's no waspy activity so we think it's been abandoned and a new nest started.  Judging from the missing strips of wood from our shed it must be huge but we haven't found it yet.  Generally, we don't bother the wasps and they don't bother us.
It's nice to return home to see what the garden has been up to.  Our orchard (two trees at the end of the garden) is beginning to swell with apples.
The ants have been busy farming their aphids which I find both fascinating and ugly.  We are good at spotting which leaves will hide aphids and we track the ants on their milking trips up and down the trunk and out to the branches where the aphid herds are grazing.  None of this is good news for our apples but you could easily spend your whole day spraying with washing up liquid and frankly I've got other stuff to do.
Our first mangetout popped it's pod.  We are very late with them this year because we forgot to plant things this spring or it was raining or something but anyway, it didn't happen until about a month ago because we're not good gardeners.
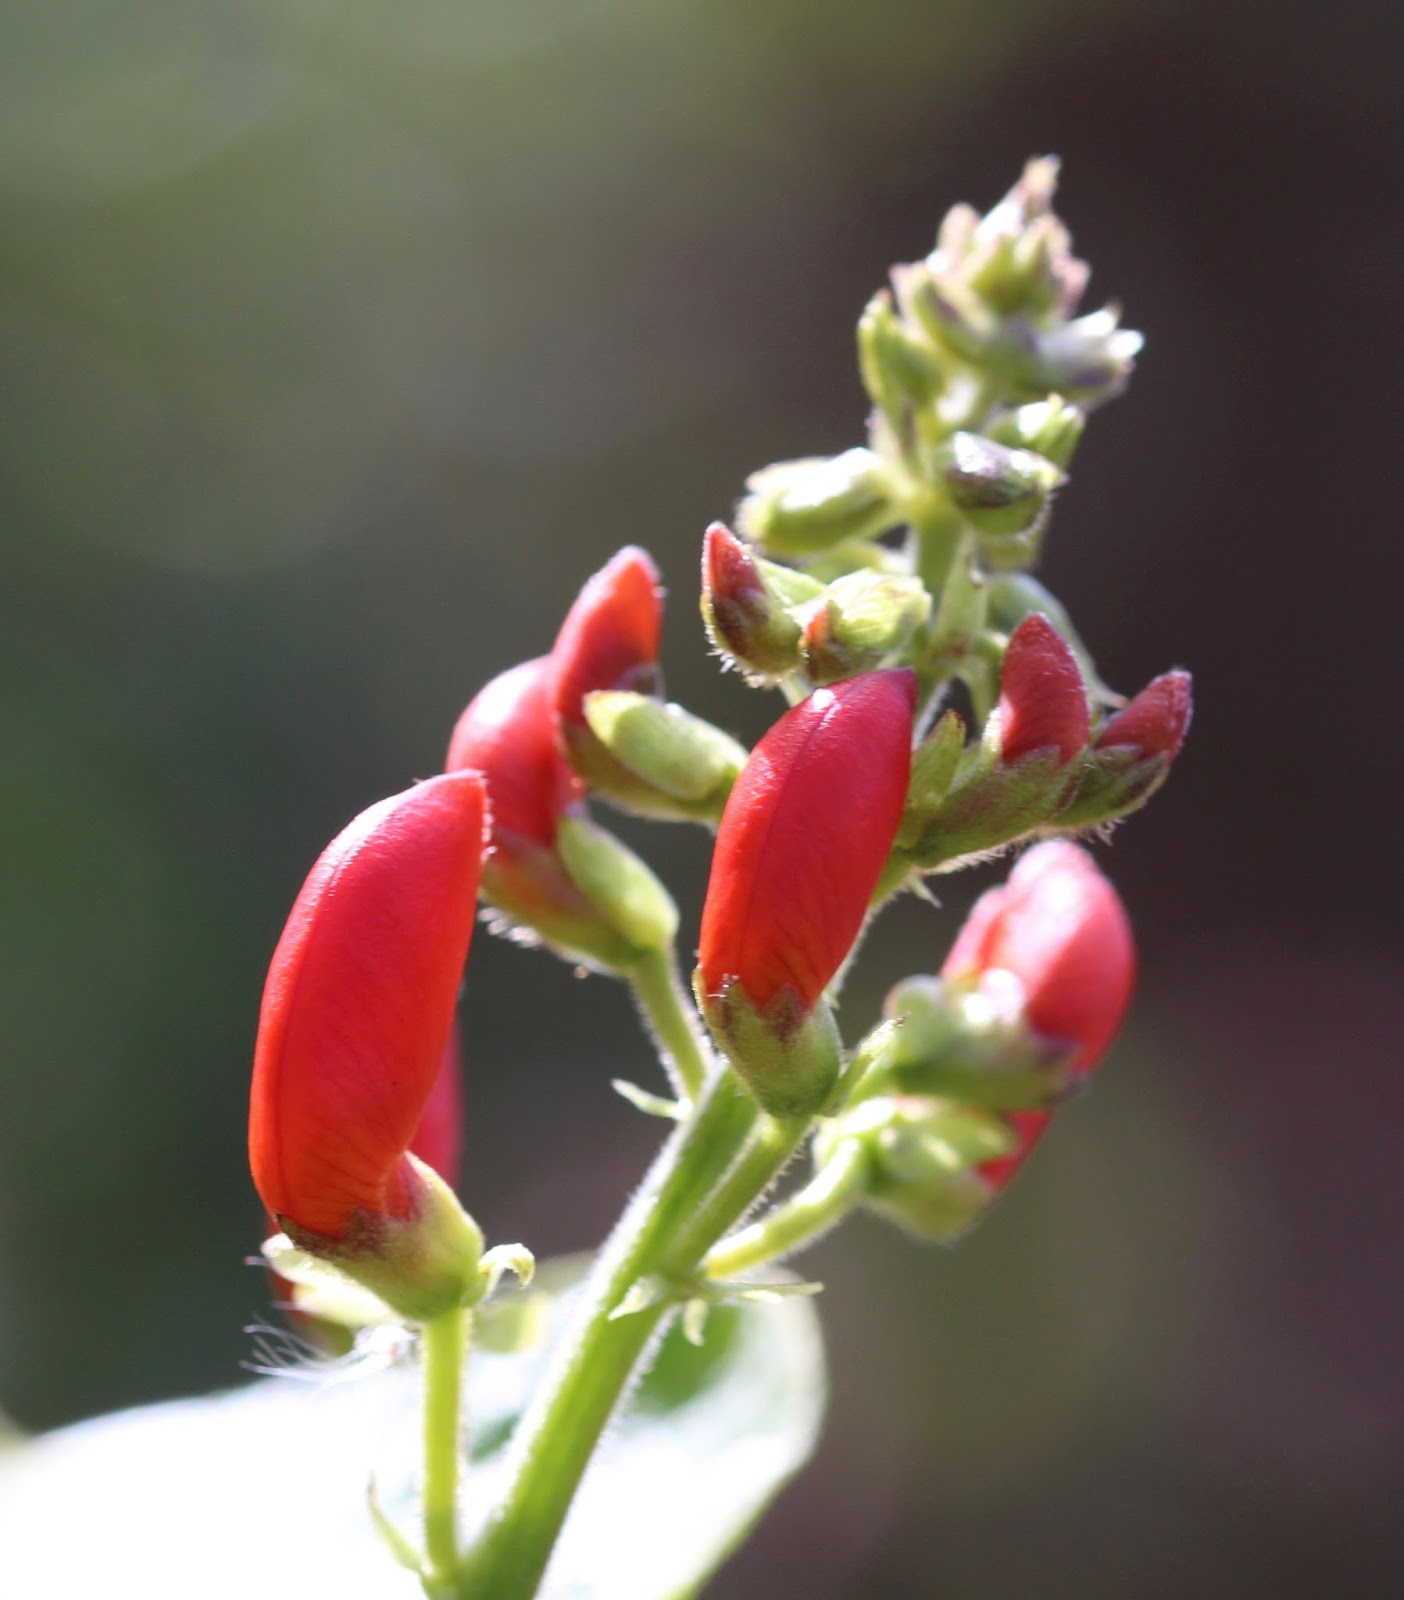
This might be a pea or a bean.  (We're really not good gardeners.)
The chives are past their best and are providing nourishment for flies.
This is a pretty weed.
And this is mint.  We grow a lot of mint because I like proper mint tea and use it in fresh salads too.  364 days a year I have a massive bowl of salad for lunch.  (The exception is Christmas Day when I mostly eat roast chicken, roast potatoes, bread sauce and chocolate.)
I've been taking the flowering tips and secretly throwing them into the grassy verge down the lane outside our house in the hope that I might be able to grow a huge bank of mint.  I think plants should be useful and available.  We should grow them in places where we can walk past and freely pick parsley or chives much as we do when we pick blackberries or cob nuts in autumn.  Why not expand the range to include easy to grow plants or herbs and encourage them to populate our waste verges?  I don't know if my ninja style planting will work (see earlier note about poor gardening skills) but I've lobbed some poppy and forget me not seeds about too, so next year if our lane erupts into colour and flowers my work will be done.

Thursday 11 August 2016

Camping with a dog

We've returned from a week camping on the south coast, soaking up the sunshine and waves near Padstow in Cornwall.  You didn't notice I'd gone because of clever technology which allows me to schedule blog posts in advance.  I only discovered it a month ago and it's great!  If I have a busy week coming, I know I can set the blog to run for a few posts and I don't need to worry that you are getting lonely without me :)

We set up our tent on a campsite with it's own private beach a few minutes walk away.  Early in the morning you are allowed to run your dog on the beach without a lead.  Because the early morning sun woke us naturally at about 6am, we were very pleased to give B. Dogg some unrestrained exercise each day.  It was his first exposure to sea and sand and he wasn't too keen on either at first.  The sound of crashing waves,  moving water which laps round your paws (unlike puddles) and sand sticking to your favourite ball which then gets in your mouth all take a bit of getting used to.

We don't think he'll make a swimmer.  He managed to avoid the sea and perhaps he can be forgiven.  The waves were pretty big.
This view is of the opposite end of our little beach looking directly at the local lifeboat station.  Each Wednesday evening while the volunteers practice launching and putting out to sea, the campsite organise a beach BBQ.  Saves cooking!  Not that a decent breakfast under canvas is a problem...
The hour after sunrise and before sunset is called the golden hour in photography.  Although I only had my phone camera with me on this trip, I managed to get some pics which if not perfect, at least will serve as reminders of a beautiful location and some lovely weather.

Tuesday 9 August 2016

Celebrate - Tag

This is another outing for my home made stamp, this time on a tag.  I made the stamp from a little sketch of this rather glum character by using an imagepac kit. 

To make the stamp you start with an image and use either specialist software or what's available on your own computer (I just used the "paint" programme on my PC) to invert it into a negative.  Print this onto the film included in the pack in the darkest black you can.  I print 2 and place on top of each other as I can't get my printer to print really black and although it uses more film, it works!  Place it in a clamp and put the imagepac photosensitive gel pack on top.   Place the whole clamp-negative-gel sandwich under a UV light and after 2 mins, remove and wash away the soft gel.  This will leave the hardened gel where the UV light has shone through the clear spaces in your negative. Give it another burst of hardening time under the UV light and voila!  Your stamp is now ready to use.  It's quite a straight forward process but you do need to get your negative as black as possible and reduce as much light spill as you can.  Everything is included in your pack even a brush to clean off the soft gel which is gooey and nasty so I wear disposable gloves when doing this part.  There are videos on you tube and alternatives to buying the pack if you are happy to go to a little more trouble.  

I have more sketches waiting to become stamps and take their place in the projects in these posts :)
So here's the video showing how I made this tag and used my stamp, not how I made the stamp because that took me 3 attempts to perfect and involved a lot of very bad words.  And you are too young to hear the bad words.  Mwah!!

Sunday 7 August 2016

Ta Dah! Art Journal

This is an art journal page to show off the first stamp designed and made by me!  I like these slightly glum characters and have other sketches ready to be transformed into useable stamps.  I used an Imagepac kit and found the most difficult part of the process is to produce a totally black inverted image.  Trial and error ended up with an easy fix, just print two copies of the negative and place on top of each other.  This video shows how I used the stamp I made.


Friday 5 August 2016

About a Brother (scan and cut)

A few weeks ago I bought a Brother Scan and Cut CM900 machine.  


I had been thinking about upgrading from my 10 year old Craft Robo for ages but I wanted to get it right and go for the right machine.  I've been quite surprised in my crafting research to learn some crafters have numerous cutters.  I only have space for one and having opted for the scan and cut and played about with it I'm really impressed!  It's much easier to use than my old Craft Robo and will save me money and storage since I never need to buy a die to match a stamp ever again.  Hooray!

I have resisted relying on it for these blog posts because I prefer to make projects anyone can have a go at with basic things - paints, stamps, inks etc.  But for this post I wanted to share a card I made for someone (who will remain anonymous in case they don't want people to know their age!) using the scan and cut.  It took about 10 mins working in the cloud based software for the machine, Brother Canvas and involved splitting, welding and inserting, all things which would have taken me ages in my old Craft Robo.  If you're thinking about getting this machine there are loads of video tutorials on You Tube to check and see if you think it will suit you.


Wednesday 3 August 2016

Simple Layered Greetings Card

Yes this this made using the same doily style die cut as in this post but it's such a lovely design I couldn't resist using it again but in softer shades.  The video shows how to ink the edges to give a slight aged or distressed look.  Often I see this used to really darken projects down and it's a balance between using just enough to keep the lightness and drifting into grunge.  As ever, my go-to tools are the rangers distress inks scribbled onto a craft mat and a bit of foam on a stick to mop up the colour and smudge the edges.  If you want a clear line on the edge, use an ink pad directly onto your project.

And here's the video...


Monday 1 August 2016

Paris (Is worth a mass)

This is an art journal layout I've had in my head for a few weeks and uses some of my favourite things - beautiful stamps from Carabelle, brushos and a white pen.  The quote is from the protestant Henri of Navarre (geek fact.... 1553 - 1610) who is reputed to have said "Paris is Worth a Mass" when advised he would only be accepted as King Henri IV of France if he became catholic.  He converted and became one of France's top kings.

I love the detail in these stamps and how much you can get from the single stamp that makes up this Paris scene.
The full view.
And the video....